One of the complaints I always hear is how so much of LED strips are wasted when cut down to size. My reply is always “Not so!”
Most LED strips are 16 feet (or 5 meters) long, so, when you need a couple of 6 foot sections, you cut from both ends and leave the 4 foot middle section without connectors.
In reality, there are pads for you to add your own connector or to solder wires directly onto the strip, and one great use for a middle strip is to set up an “On The Air” light!
With many of us still in lock down, working remotely, telemeetings are how tons of people are getting their jobs done. We’ve all had family members and roommates interrupt, sometimes to hilarious effect.
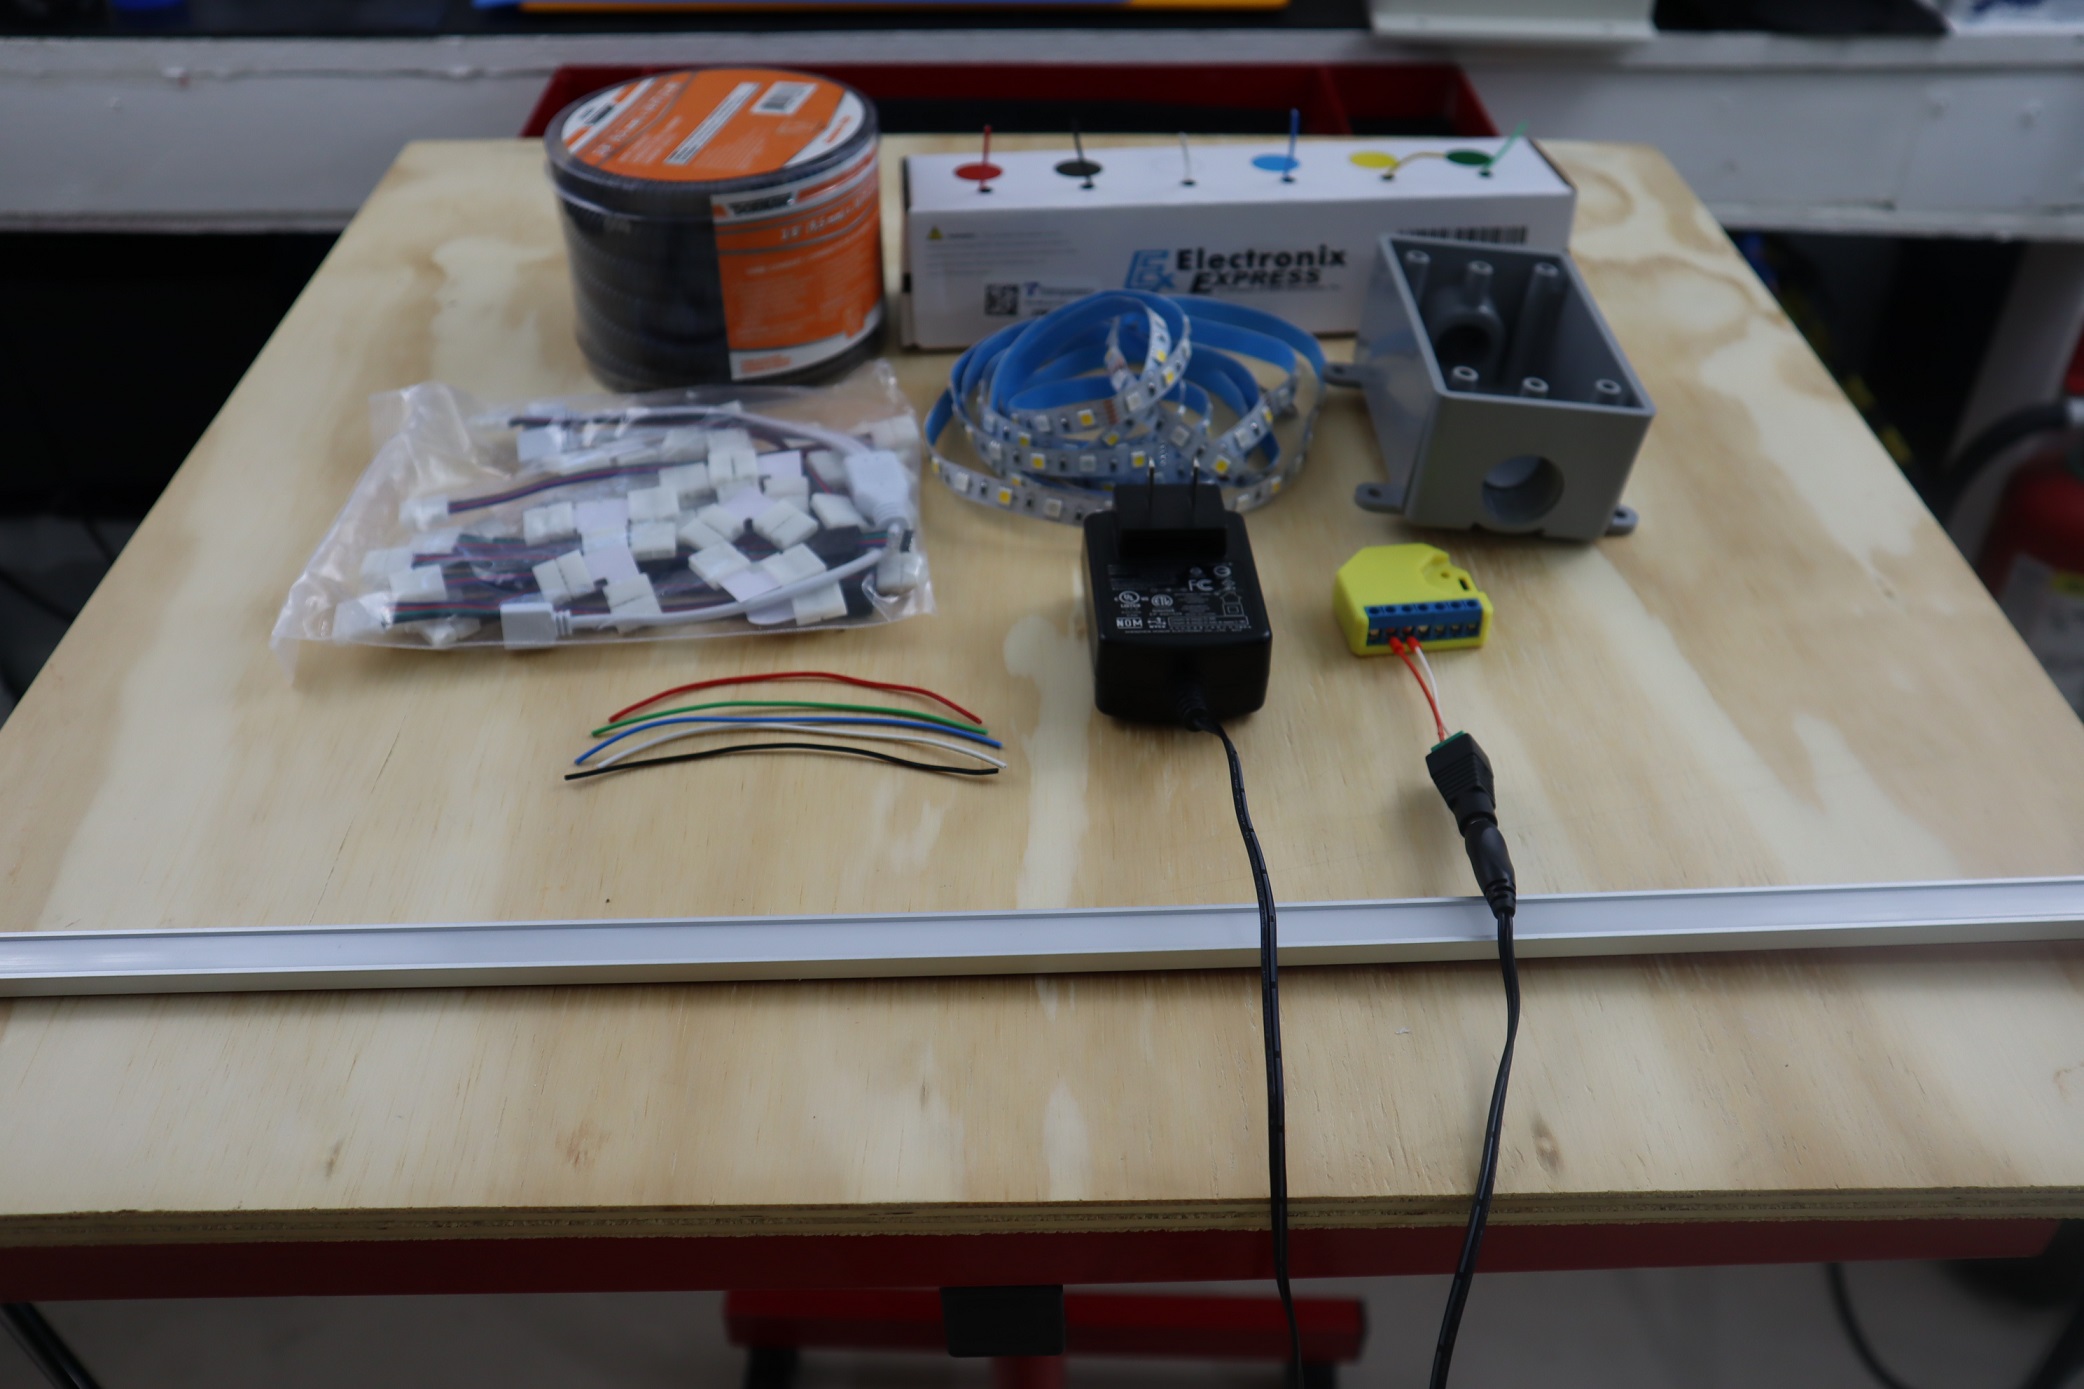
I used an RGBW2 with an LED strip “middle,” an RGBW2, an aluminum channel with diffuser, a little wire loom and 22 awg wires, and a 12v power adapter to turn a short piece of scrap LED strip into a useful notification.
Right now, Shelly USA has a sale on relays that doesn’t include the RGBW2, but, since I was stocking up, I grabbed one to take advantage of the free shipping – you can check out the sale HERE
First, the materials you need. I used a clear cover enclosure on the first light that I set up, so that I can see the status LED on the RGBW2. You don’t need that, though, and a PVC gang box with blank wall plate makes a great enclosure.
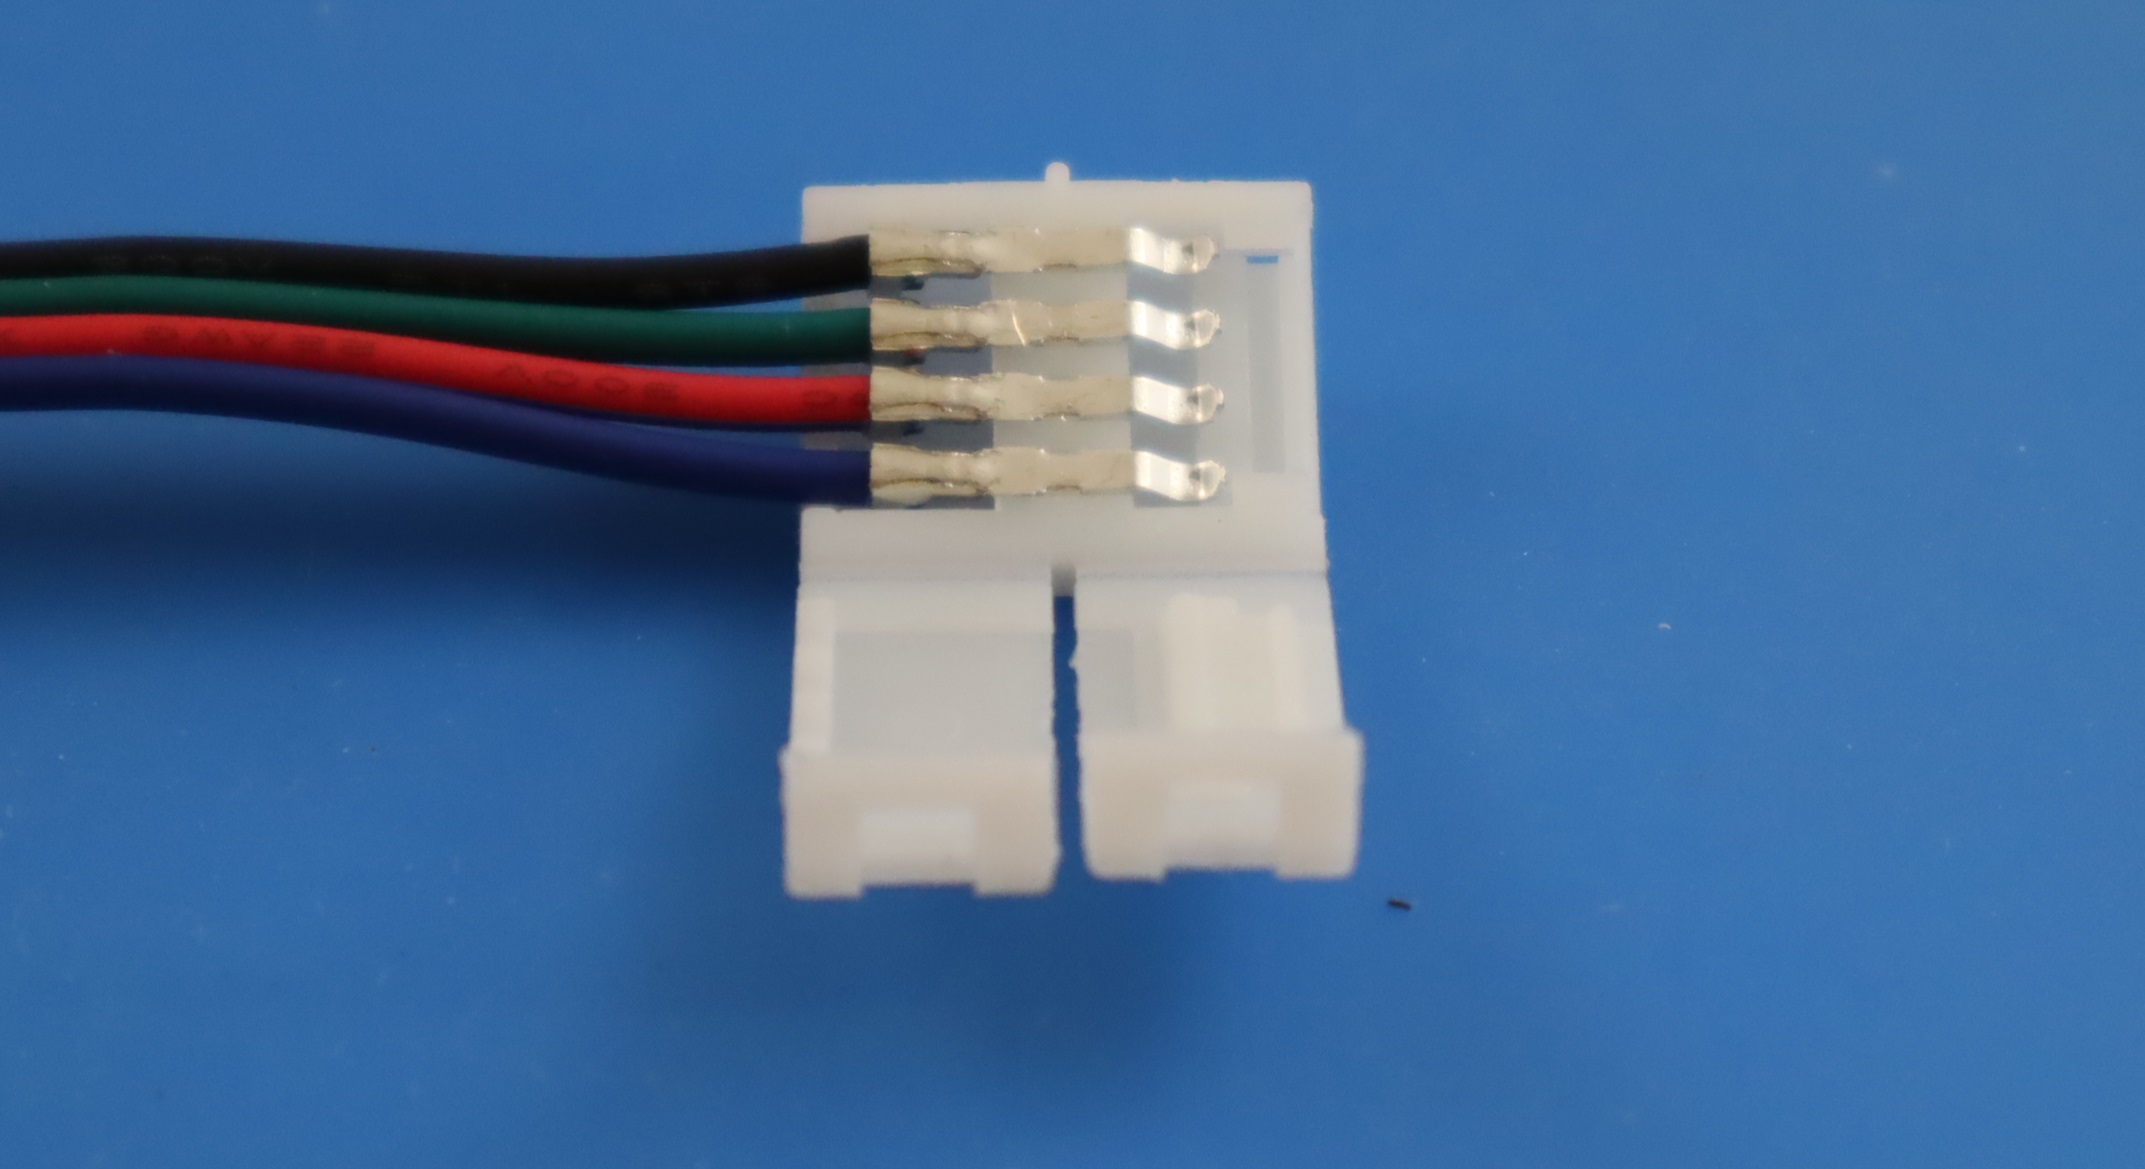
There are very inexpensive adapters you can use to clamp down onto the pads on an LED strip to add leads, like the one above. That’s pretty handy, but I want to use an RGBW strip instead of RGB, and I don’t have those on hand. Soldering time!
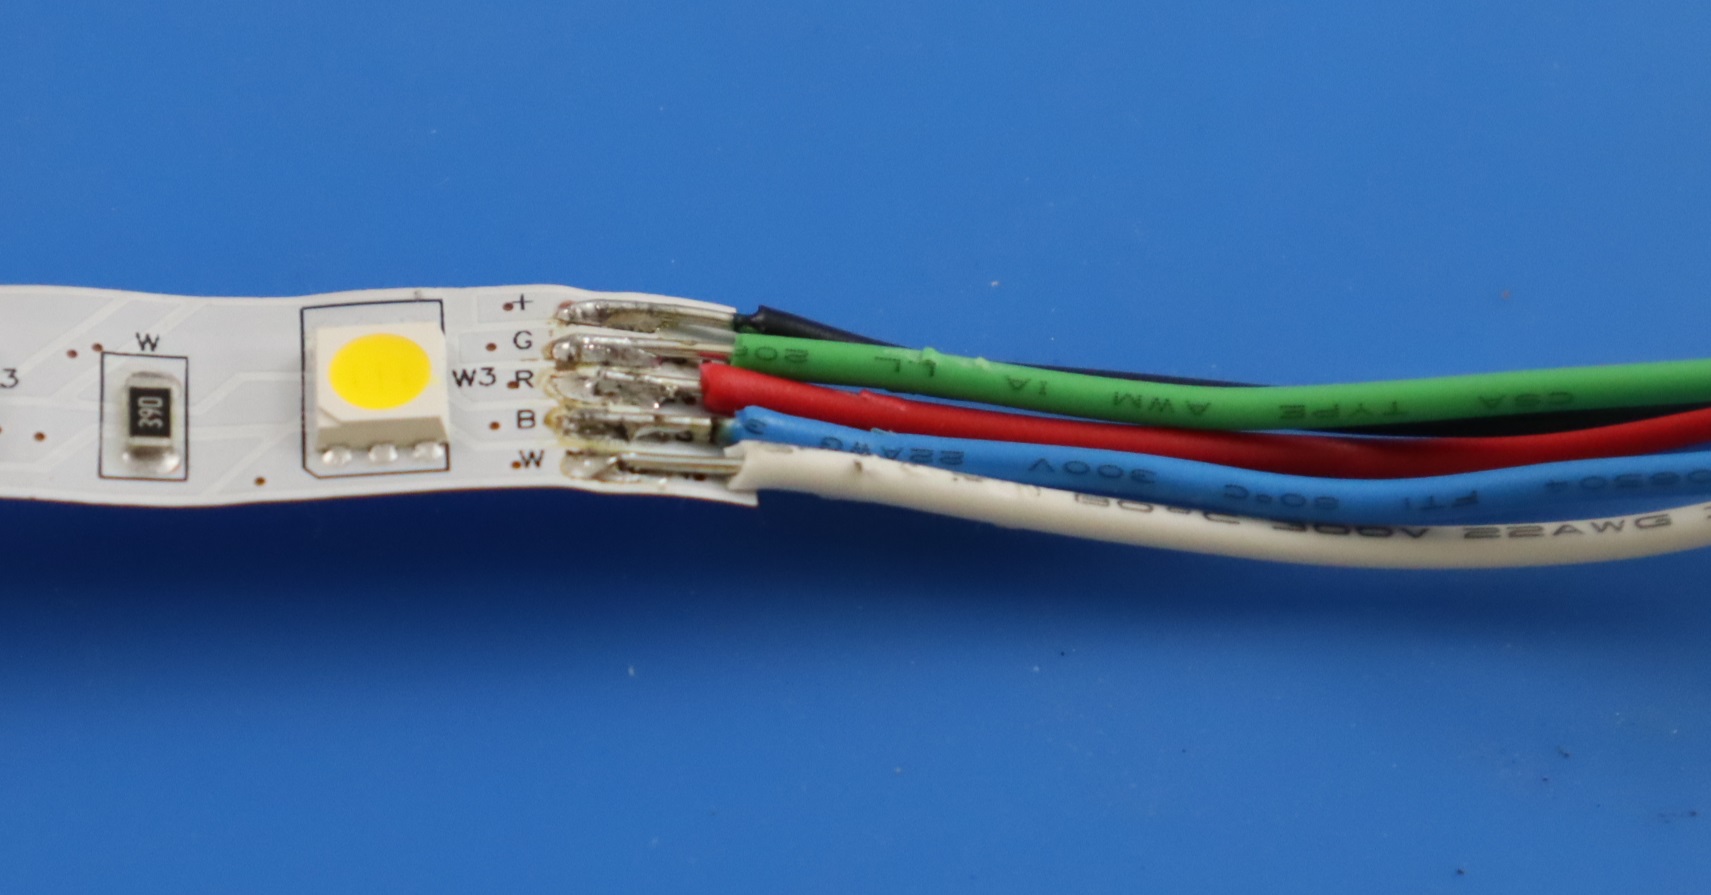
Before you grumble too much about my handy-work, remember that the pads and wires are tiny and my eyes are almost 50 years old. The joints all work, that’s what counts! Please note that even though the order of the letters are R-G-B-W, the label on this wire is G-R-B-W. Always follow the label, right?
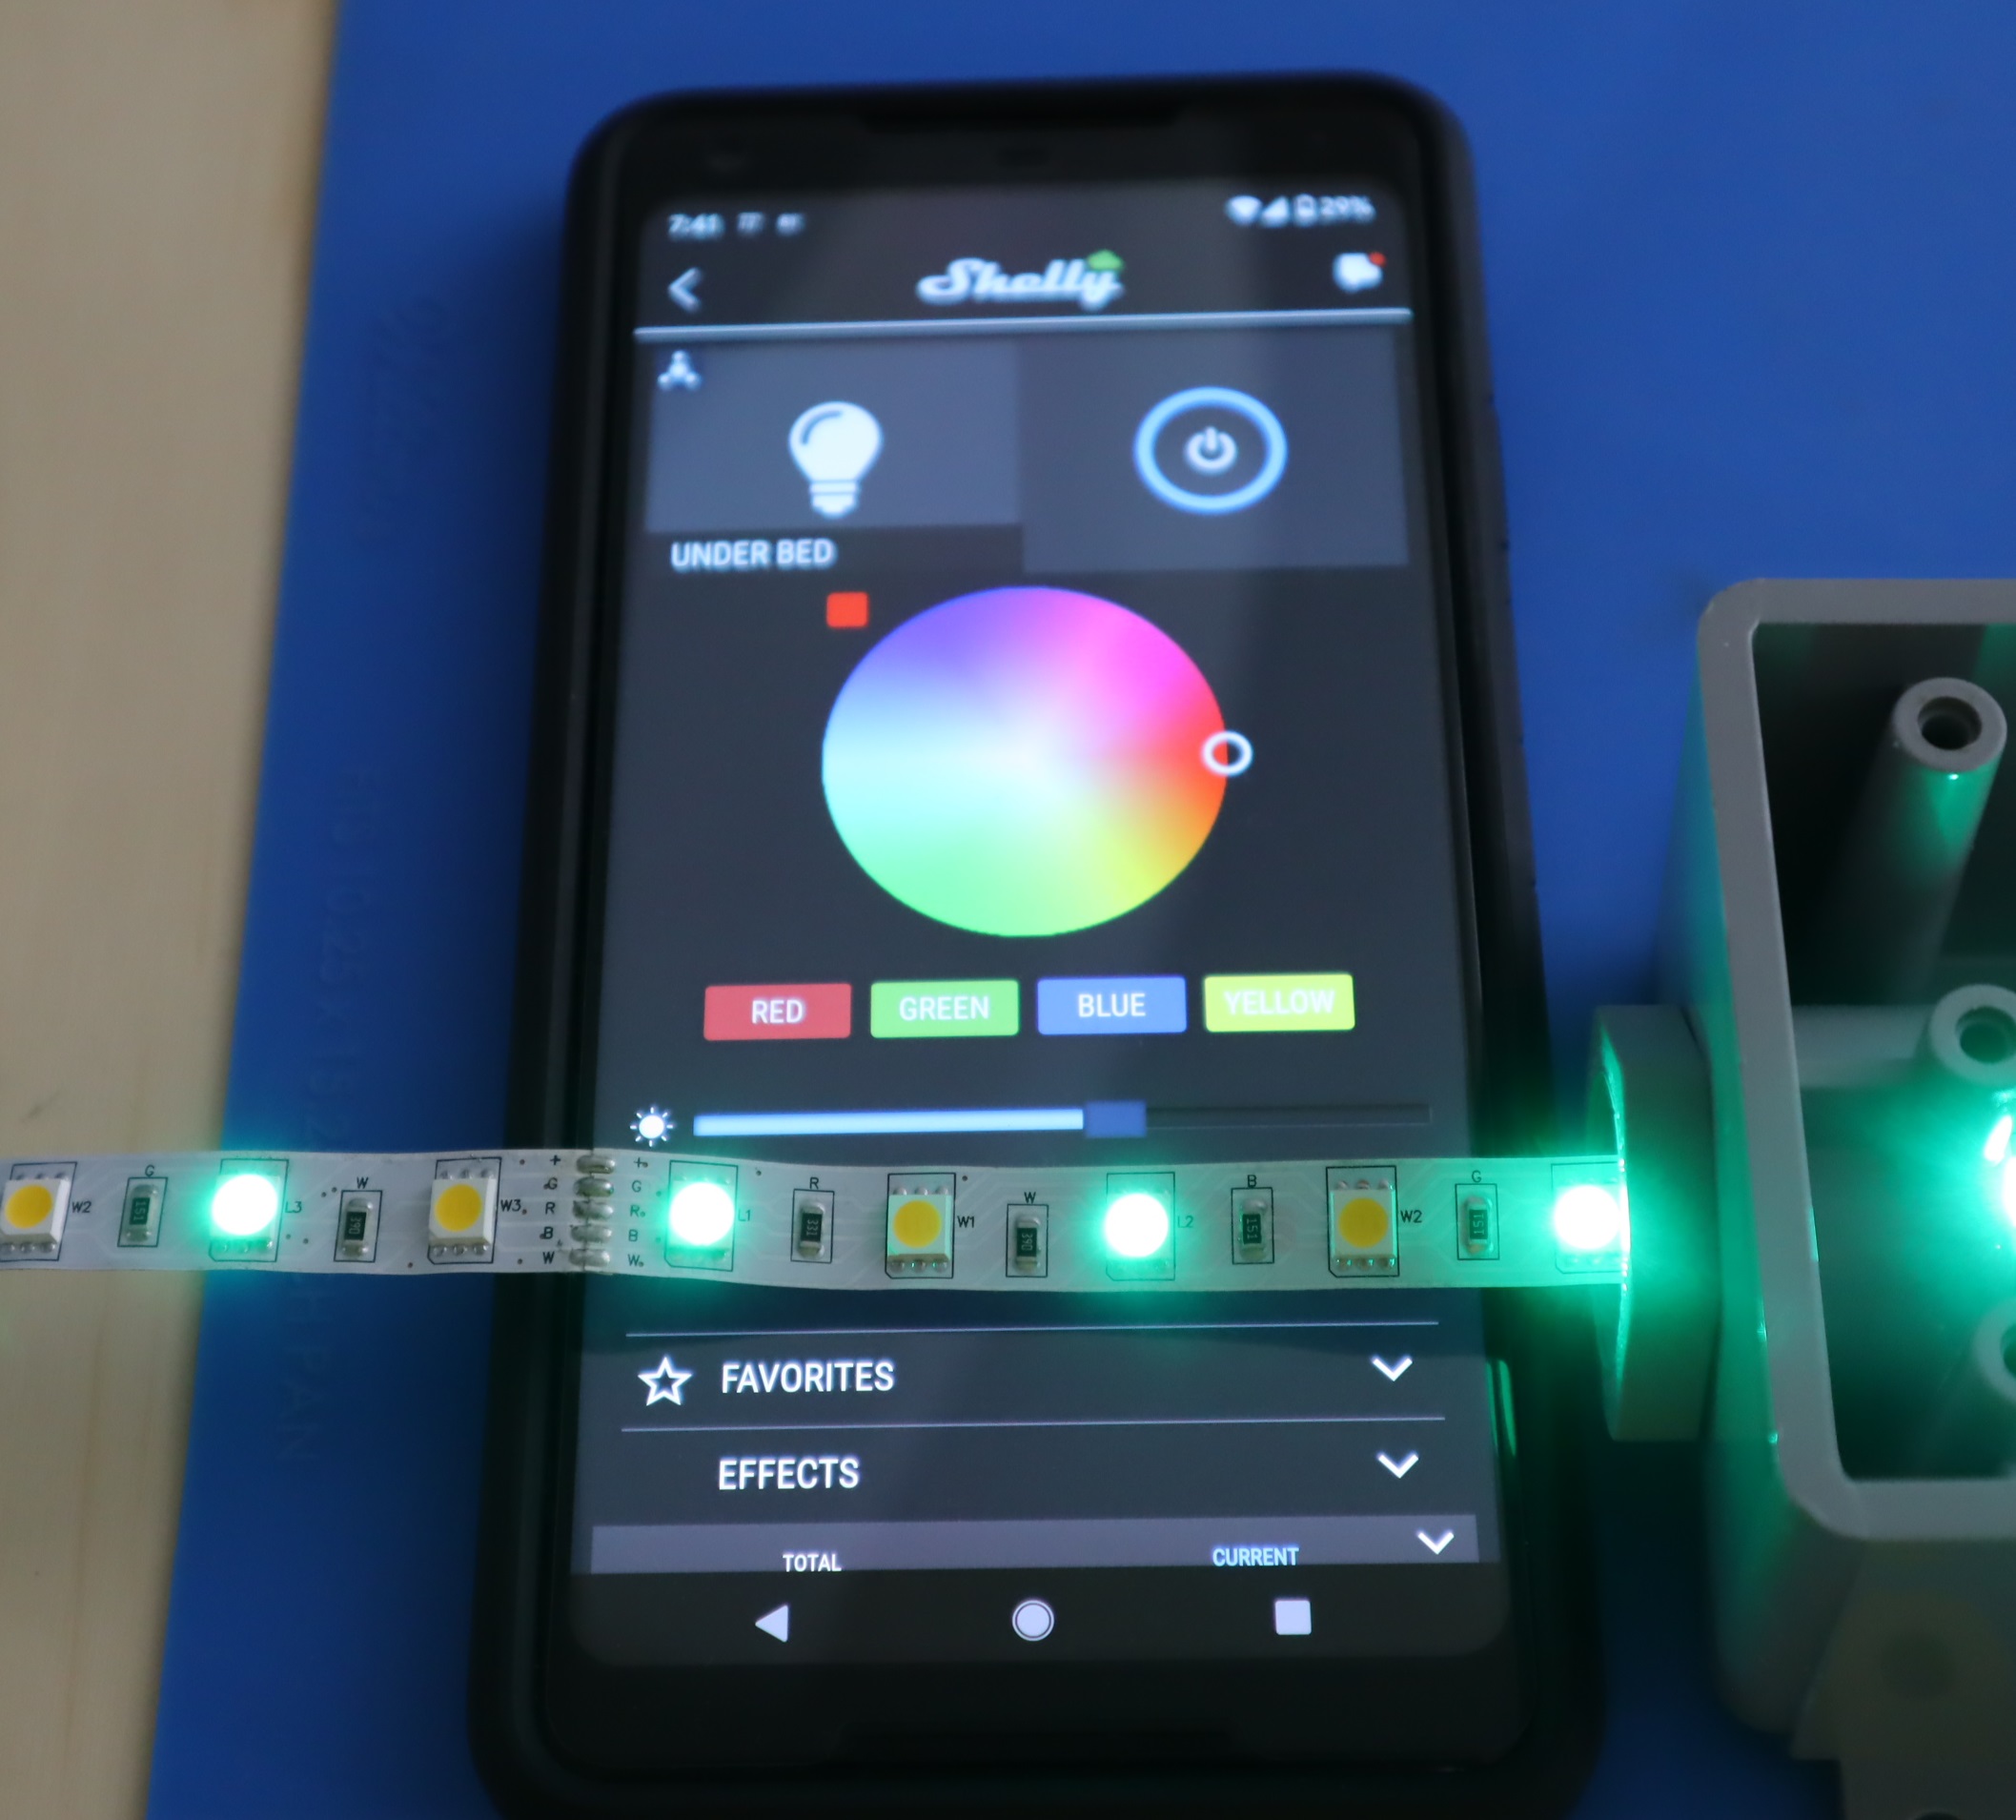
Nope. Your app says Red but your strip says Green. I swapped the wires on the RGBW2 instead of soldering them on again.

The next step was to apply 3M tape to the back of the aluminum channel. I then removed the film from the LED strip’s adhesive backing and stuck it into the channel.
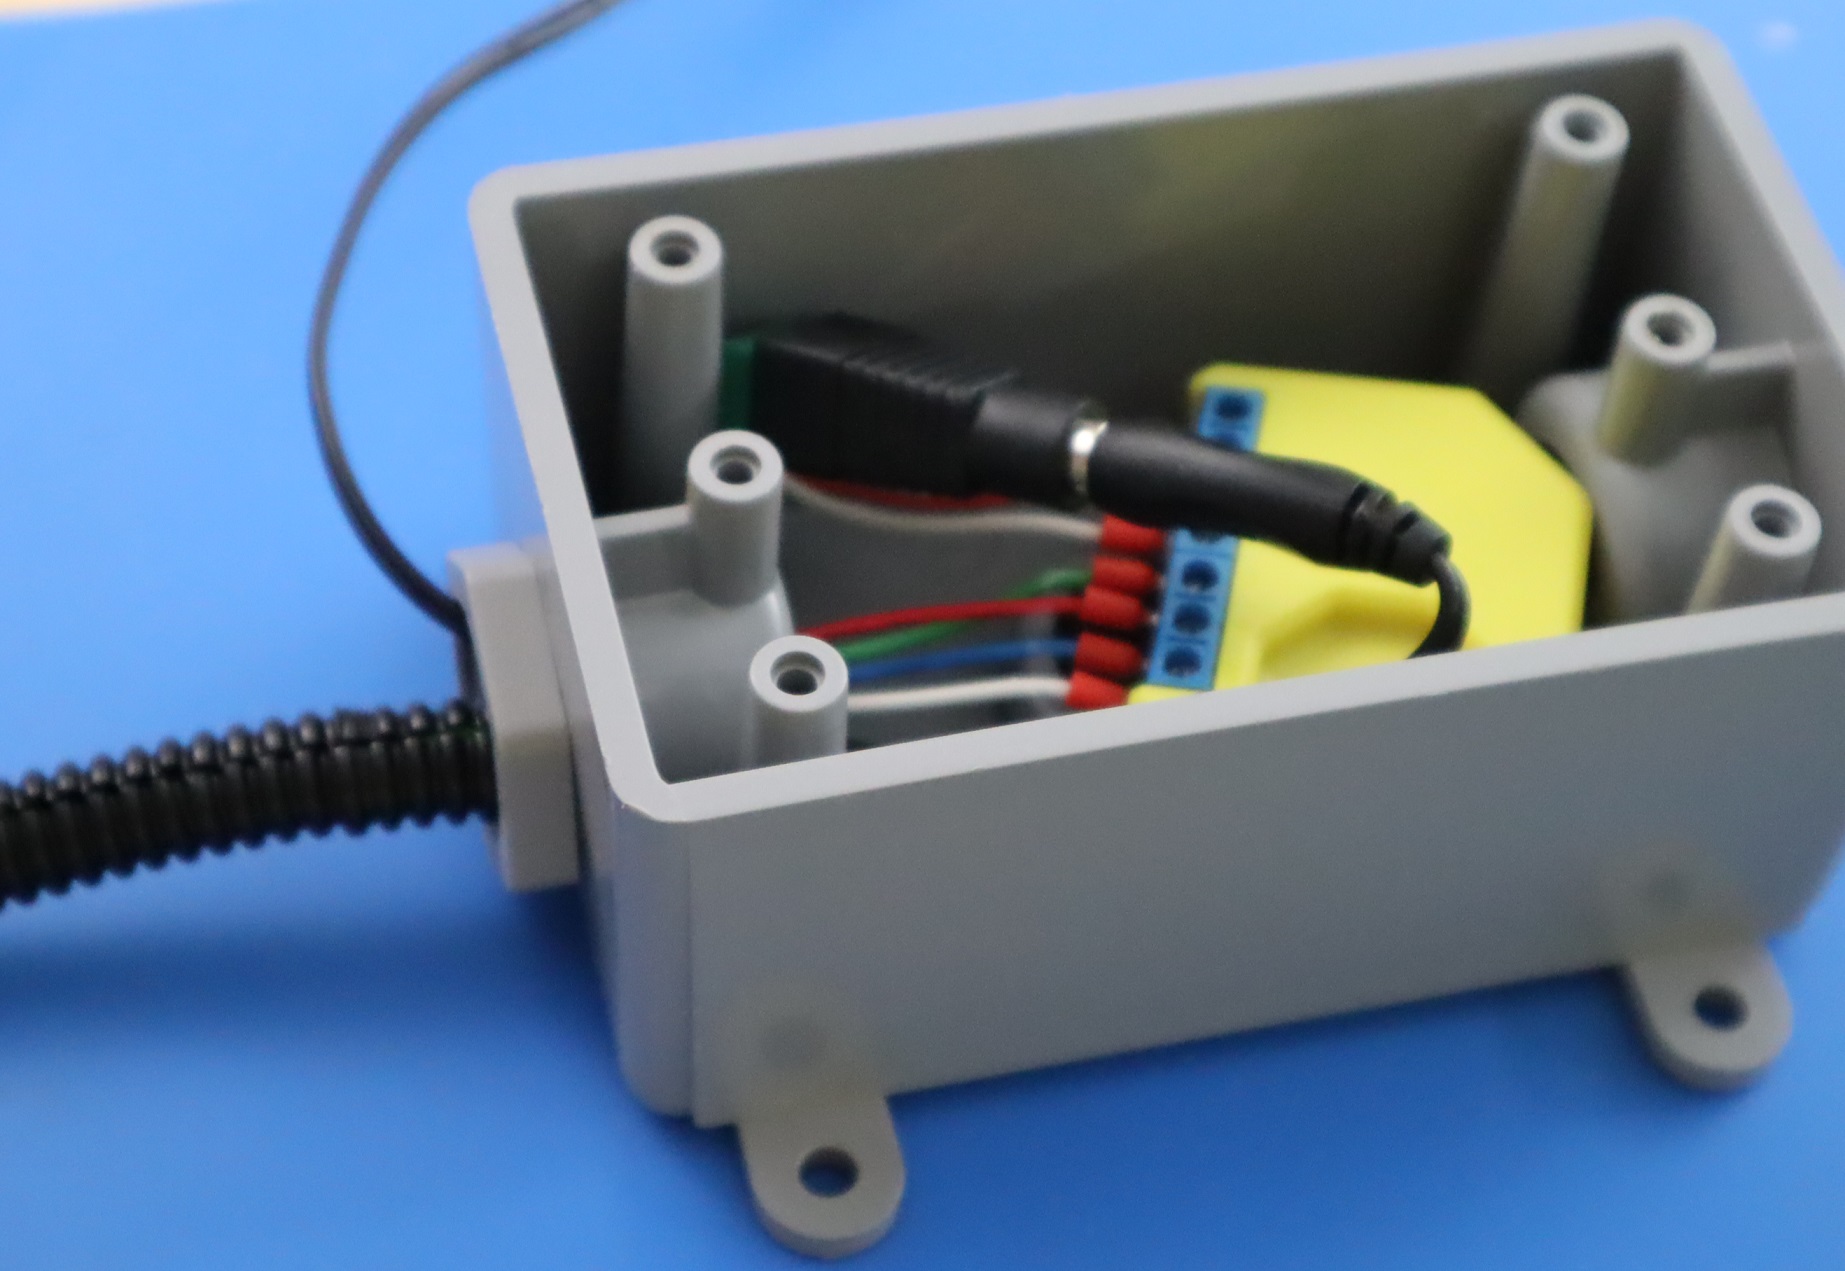
I tucked all of the wiring into my enclosure with the RGBW2. I also used a little wire loom to protect the wiring a bit.

Here’s the LED strip inside the channel, with the wire loom in place.
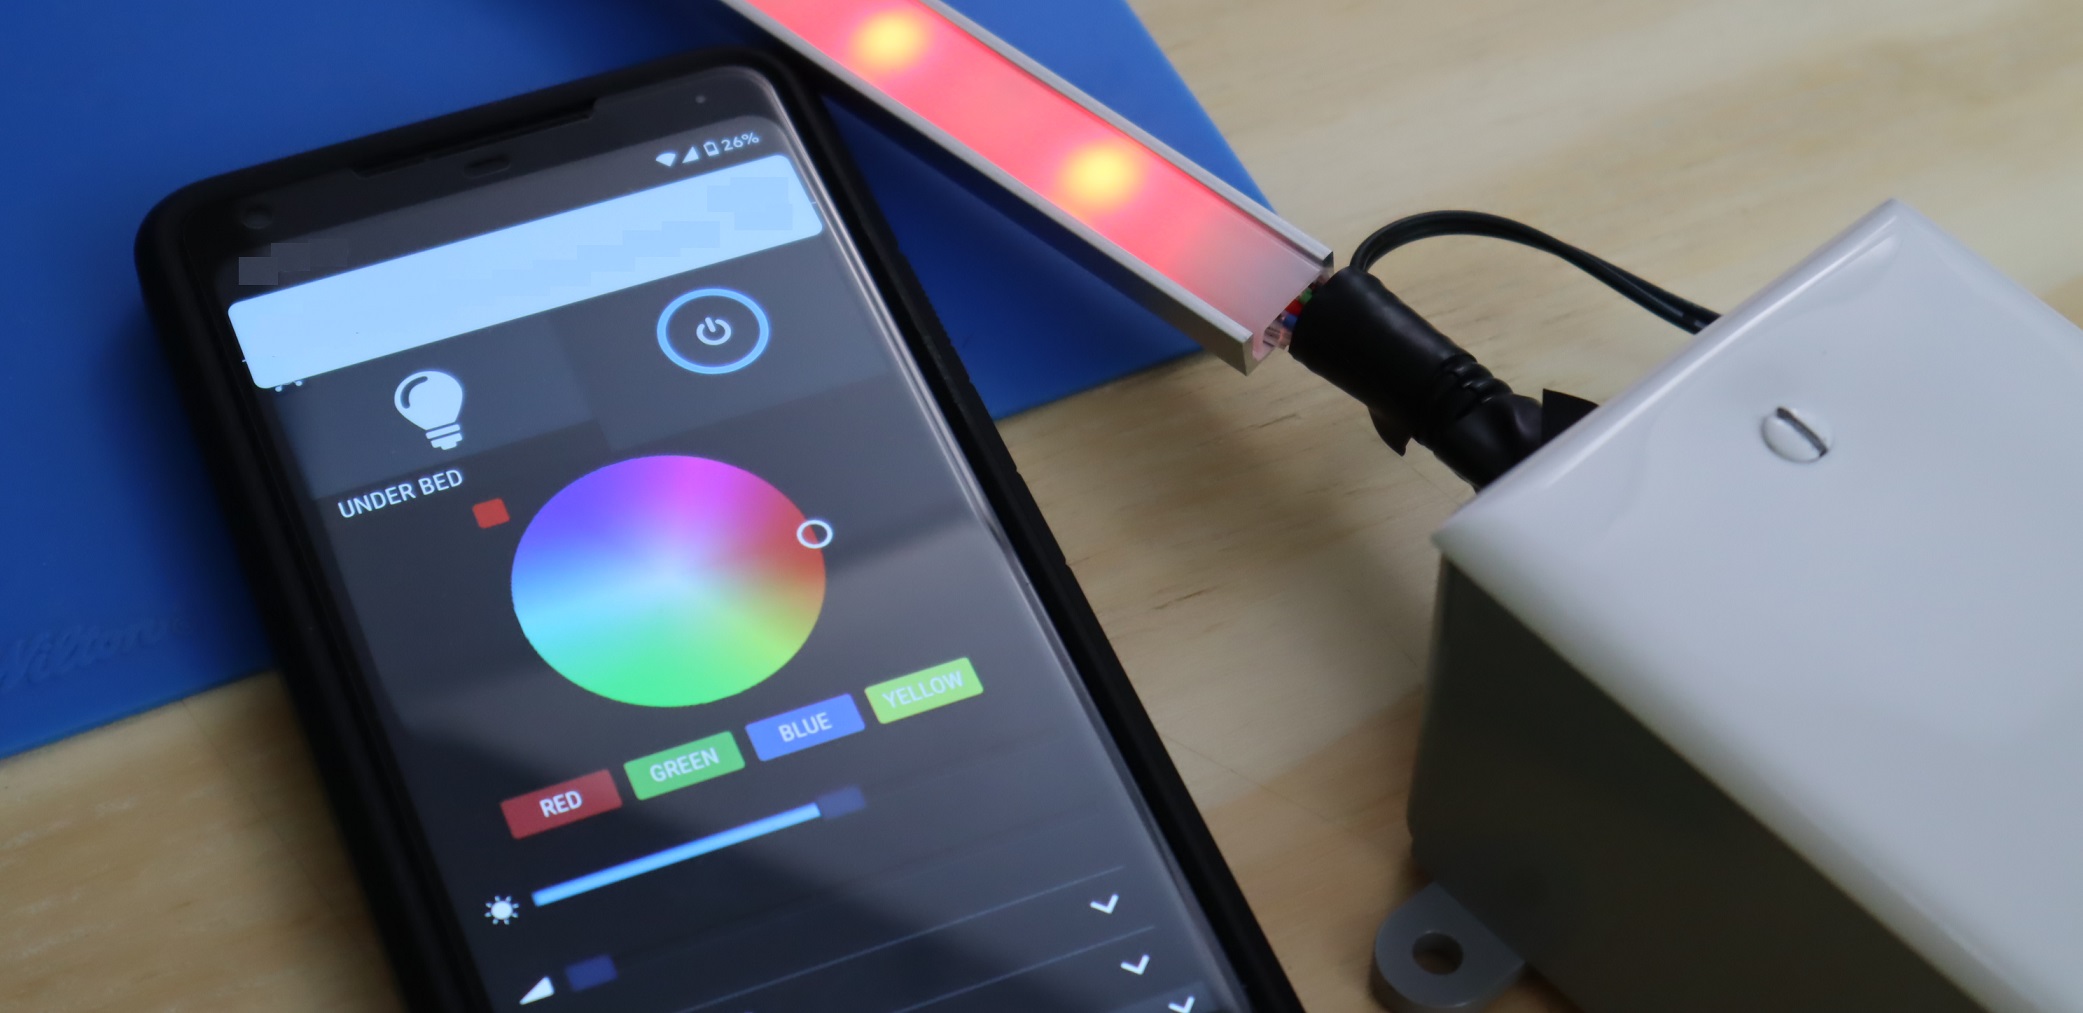
Now that the wires are in place, with the diffuser fitted, the light looks great.
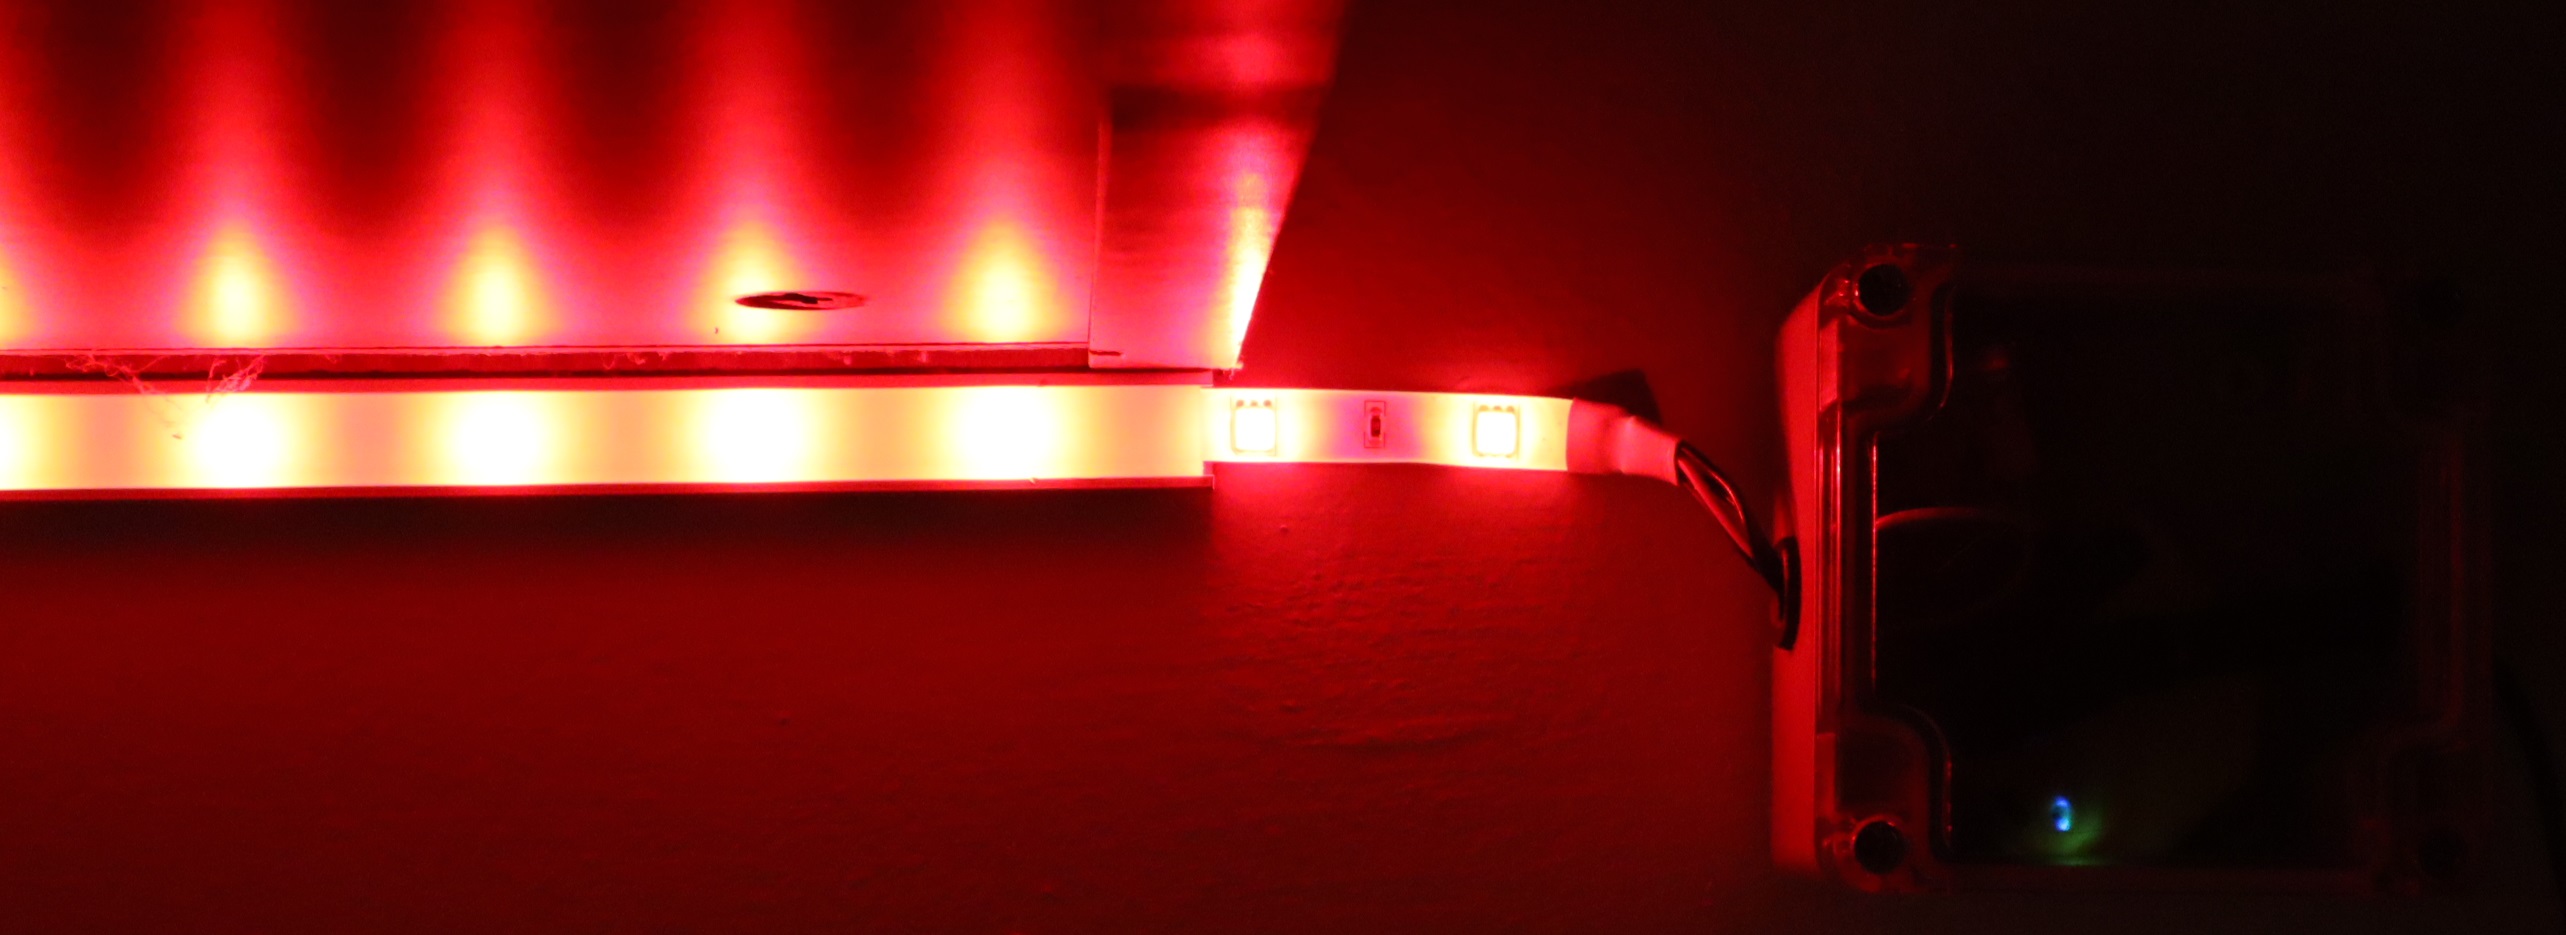
Here’s a picture of the first one I mounted, with the clear lid enclosure – not really needed, but I like this sort of thing as much as the solid wall plate – which is going to the wall over the back door!
I needed a few extra minutes to solder, since my hands aren’t as nimble as they once were. Even so, this project took no time at all.
Total time to install? 14 minutes.
SmarterHome.club is the website for our Facebook community, The Smarter Home Club – which is an umbrella for all kinds of smart home technologies – home automation, security, custom electronics, weather stations, alternative energy, you name it. DIY focused.
If you’re interested in joining the Smarter Home Club’s Facebook group, please follow this link:


