
William from ZemiSmart asked me to review a couple of his company’s products for The Smarter Home Club. Today, I want to tell you about the ZemiSmart Wi-Fi Door/Window Sensor. This sensor works with the Smart Life app, meaning it uses one of the popular Tula modules based on the ESP8266, which is very well loved in the smart home community. I have a LOT of pictures included in this entry, to help guide you through the initial setup, as well as to help illustrate one way to get a little extra functionality from it.
I’m always happy to test out and offer up a review of my experience for any company, especially when their representative has participated in our community over the months. After my recent Shelly post, I feel the need to point out that I do not have any financial interest in ZemiSmart and am not receiving any compensation for doing this review. In fact, I worked on a Wi-Fi security sensor for the second half of 2017, only to stall out when it came time to raise capital with Kickstarter. I don’t know if I’ll get back into the game at some point, but, if I do, this product will actually compete with my own – so this is not a sales pitch for William or ZemiSmart 🙂
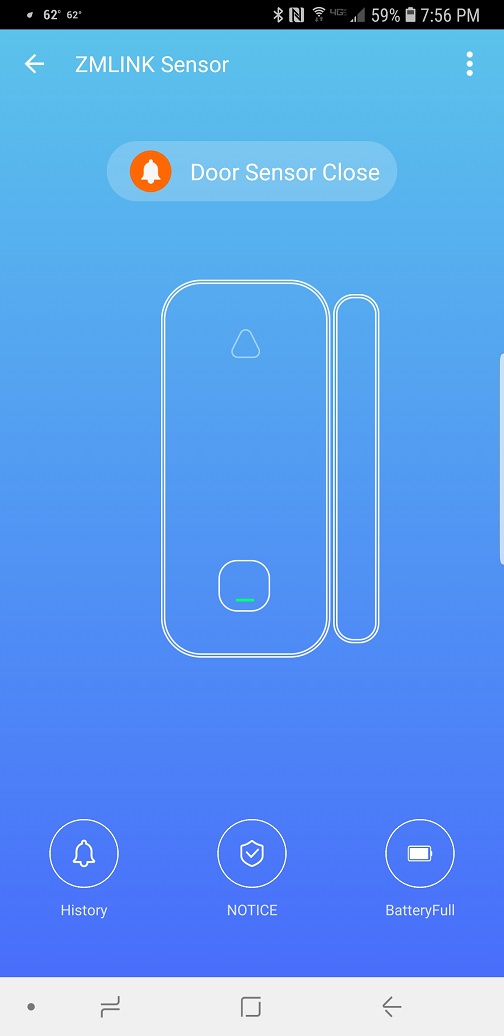
The sensor is Wi-Fi based. It uses the app to provide notifications (you can get notifications for open or closed) and to report the battery strength. It comes with batteries installed (just pull out a plastic tab to allow the batteries to make contact), along with both mounting screws and pre-cut double sided tape for mounting. The batteries are generic, but it is nice to have a product that will fire up without digging through kitchen drawers for a set of batteries.
The enclosure is lightweight and slender, so decent two sided tape should easily hold it in place. There’s a small tab on the back to access the batteries (as well as the TYWE3S module). You can easily open this panel with your fingers. The power consumption is wonderful – we have refrigerators and storage in our garage, so are in and out through the laundry door all day. I mounted the sensor there and after 6 days of use (with generic batteries), the battery level finally dropped to 99% today.
Now that the hardware is covered, let’s get started with the setup of the device, in the Smart Life app.
The one knock against the sensor is that the instructions are for a prior version of Smart Life, so there’s going to be some confusion if you’ve never worked with the Smart Life app before. On a brighter note, it is still very simple to add:
- Tap the + in the top right corner of the app.
- Scroll down to Door/Window Sensor (tap it)
- Per the instructions on screen, press the power/reset button on the front of the sensor and tap the blue buitton in the app confirming the light is blinking.
- Verify that your Wi-Fi password is correct (or select your Wifi Network and enter the password if this is your first use of the SmartLife app).
- The app will go through the process of connecting the device.
- Select a name for the Sensor that is easy to remember. Obviously, if you want to use a number of them, name it for the door or window where it is installed.
- Tap done.
Pics – click the picture to open full size in a new tab:


Please note, you have the option to share the device with other people, family members, etc, which is a very nice feature that gets little notice. A great use case (example) would be to monitor when the garage door is opened, in case your toddler decides to take your Jeep for a spin. If you and your spouse both get the alert, there’s a better chance of stopping the little tyrant before he finds a mud hole.
Seriously – one of these sensors on your apartment or condo door, or a group of them on your home’s first story doors and windows, and you’ve got an instant alarm system, and that’s with default functionality out of the box. If you’re interested in digging a little deeper, though, there are some interesting ways to use the sensor.
IFTTT allows you to use the sensor as a trigger for other actions. For example, here’s how to set up an applet in IFTTT to record a video in your Wyze camera when the door/window sensor opens – note, I’m doing this on a PC, but you can do it just as easily from mobile:
- Go to https://ifttt.com
- Click My Applets
- Click New Applet
- Click “+this”
- Type Smart Life and click the Smart Life tile
- Select Door sensor is open
- Select the Sensor
- Click “+that”
- Type Wyze and click it
- Under Choose action, select “Record a short video clip”
- Select the camera you want to record and click “Create Action”
- Click Finish
As you can see, it’s really easy to find new and useful ways to exploit the data from your sensors. IFTTT is only one way, but it is simple enough that anyone can do it.
Pics – click the picture to open full size in a new tab:


If you’re a little more adventurous (but don’t want to solder leads to an MCU module), Travis Griggs just told me about a way to flash custom firmware OTA on Tuya-based devices. That blows the doors off any limitations you might have using the stock firmware. The sky is the limit. Here’s a link:https://github.com/ct-Open-Source/tuya-convert
In conclusion, I like the sensor. I’m a big fan of Wi-Fi devices. It’s the most common signal on the planet and virtually everyone has some exposure to it. In fact, I’d venture to say that anybody with any smart home aspirations is very familiar with Wi-Fi. It gets a bad rap in the home automation community. The most popular complaint being the limited number of devices you can use. Obviously, that depends on the router you’re using, though I’ve seen a generic ISP cable modem with built-in WiFi easily running a dozen smart plugs, a bunch of smart bulbs, plus tablets, laptops, and cell phones. Your mileage may vary.
The real power in Wi-Fi automation devices, however, is their simplicity. They’re so easy to install that your Grandma can set it up. She’ll like it a lot more than she liked the Clapper! For most people, they’ll get started with a couple of plugs or bulbs, maybe a sensor or two, and that meets all their needs. Sure, a Z wave mesh network with 17 custom rules for each device is impressive, but not everybody needs or wants it.
Soapbox diatribe aside, the Zemismart Wi-Fi Door/Window Sensor is easy to install, is reliable, has great interactivity with other apps and services, and you can even use your own firmware without soldering a lead. The only strike against it is the outdated install instructions in the box, but the app does a great job of guiding you through the setup process without instructions.
If you’re interested in picking one up, here’s a link:
Handy little sensor. Let me know what you think or if you’ve got any specific questions.
SmarterHome.club is the website for our Facebook community, The Smarter Home Club – which is an umbrella for all kinds of smart home technologies – home automation, security, custom electronics, weather stations, alternative energy, you name it. DIY focused.
If you’re interested in joining the Smarter Home Club’s Facebook group, please follow this link:


